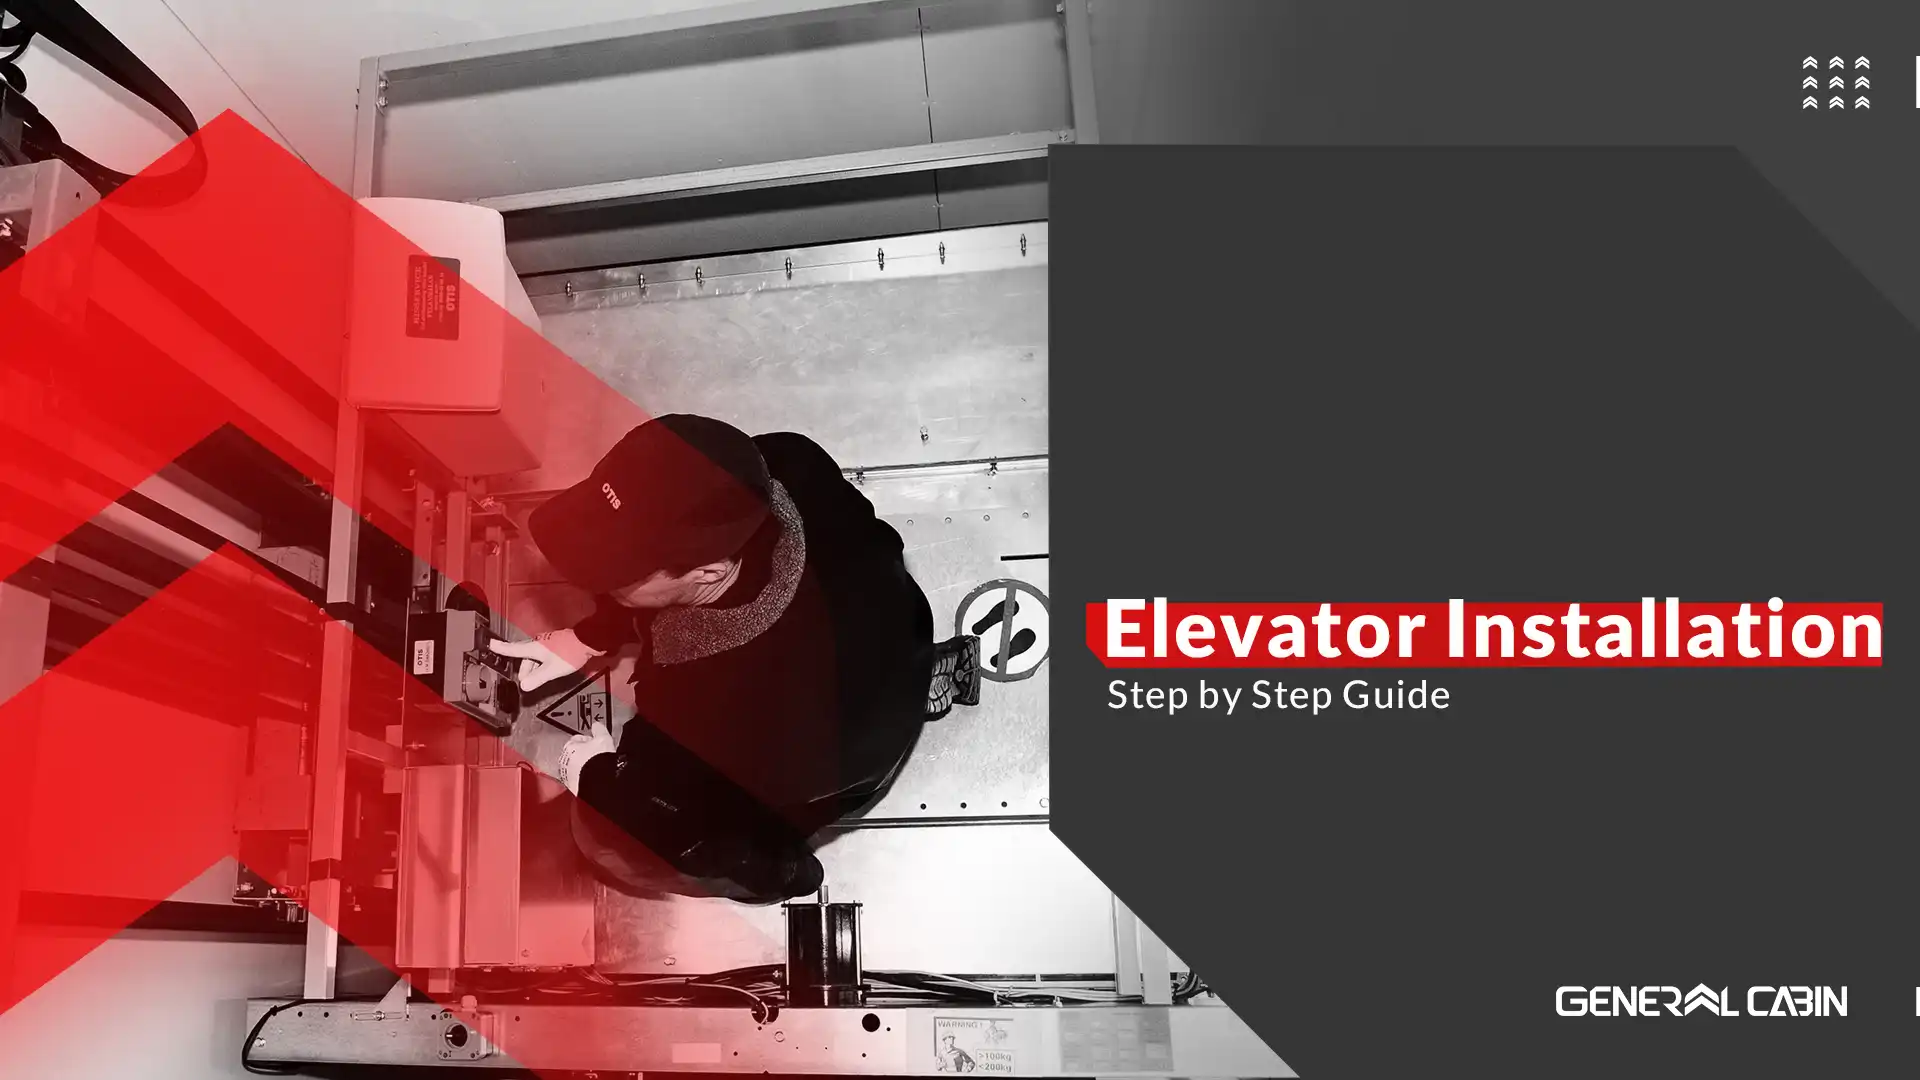
Step-by-Step Elevator Installation: A Complete Guide
Elevators are one of the most essential components of any modern building. From residential towers and commercial complexes to smaller buildings, elevators are a necessity. But have you ever wondered how exactly an elevator is installed and what steps are involved behind the scenes?
Elevator installation is not just a simple mechanical operation—it is a series of carefully engineered steps that include shaft preparation, rail installation, cabin assembly, door fitting, and safety testing. Understanding this process helps both clients and engineers recognize the importance of each stage in ensuring safety and overall quality. In this article, we’ll walk you through the complete process of elevator installation step by step.
Elevator installation is one of the most crucial stages in the construction or renovation of a building. Beyond improving mobility for people and goods, it increases property value and ensures the safety and comfort of residents. To guarantee reliable performance over the years, the installation must be carried out correctly and according to standards from the very beginning.
Why Elevator Installation Matters
Safety for Residents
Proper installation minimizes risks such as entrapment or falls.
Higher Property Value
Buildings with modern, standard elevators are more attractive to buyers and tenants.
Ease of Use
A properly installed elevator ensures smooth, quiet, and reliable movement.
Durability and Lower Maintenance
Correct installation reduces long-term repair and service costs.
Main Components of an Elevator at a Glance
Shaft (Hoistway): The vertical space where all equipment is installed.
Rails: The guiding track for the cabin and counterweight.
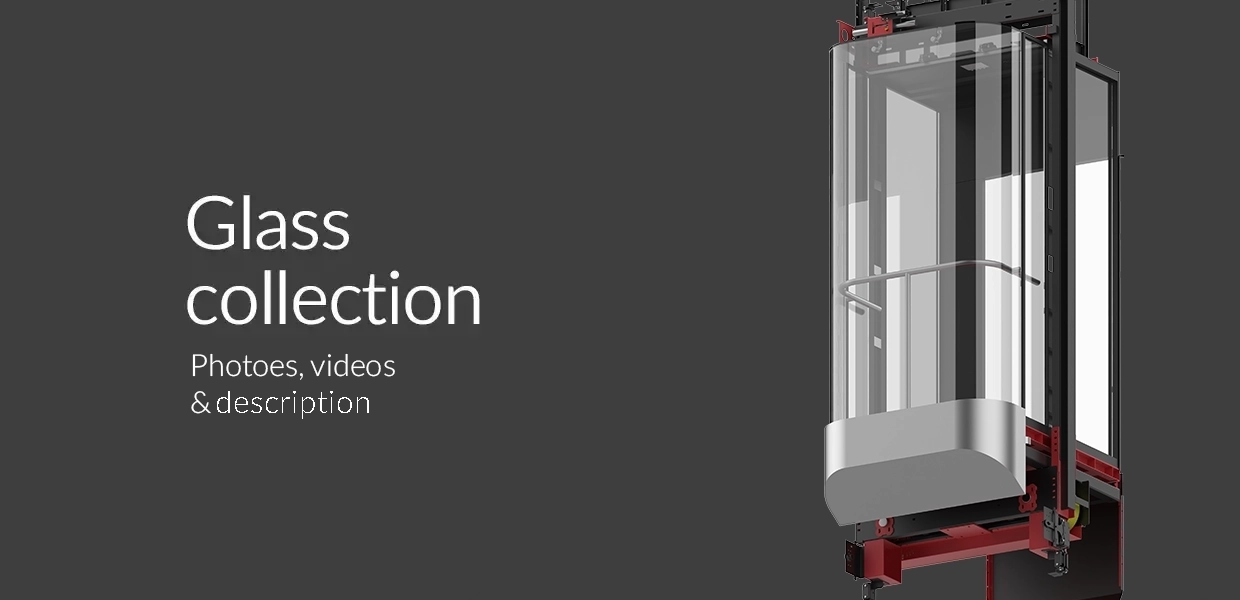
Cabin: The space where passengers or goods are transported.
Doors: Provide safe entry and exit.
Yoke and Counterweight: Maintain cabin balance.
Control Panel: The “brain” of the elevator that manages all movements.
Buttons and Indicators: The user interface with the elevator.
Key Steps in Elevator Installation
Preparing the Shaft and Site
The elevator shaft is the vertical space where the cabin, rails, and counterweight are placed. The quality of shaft preparation has a direct impact on safety and performance.
Dimension Check
Shaft dimensions must comply with national building codes (such as Iran’s Chapter 15 Building Regulations) and project requirements.
Pit and Overhead Clearance
Adequate distances must be maintained to prevent collisions of the cabin or counterweight.
Structural Readiness
Shaft walls and the pit floor must be strong and level for accurate rail installation.
Waterproofing and Drainage
The pit should be protected against water or humidity.
Openings and Frames
Door openings at each landing must be prepared for installation.
Lighting and Ventilation
Proper shaft conditions are essential for worker safety during installation.
Cabin Assembly and Installation
Once rails are ready, the heart of the elevator—the cabin—is installed.
Design and Quality
Proper shaft conditions are essential for worker safety during installation.
Ergonomic Design and Lighting
The cabin is the first element passengers see and touch. Materials such as stainless steel, glass, or decorative panels increase durability and create a premium impression.
Standards and Dimensions
Cabin dimensions must follow national codes to allow access for people with wheelchairs or for vehicles in car lifts.
Installing Doors and Control Buttons
Landing Doors
Landing doors must align with the cabin floor to ensure safe entry and exit.
Cabin Doors
Cabin doors act as a second layer of safety, preventing direct exposure to the shaft.
COP (Car Operating Panel)
Includes floor selection buttons, door open/close, alarm, and emergency stop. COPs must be installed at accessible heights for all users, including persons with disabilities.
Wiring and Control Panel Installation
Wiring and Cabling
All systems—motor, doors, COP, sensors—are connected to the control panel using standard cables.
Programming the Controller
The control panel is programmed to manage elevator movement based on user commands.
Safety Systems
Emergency rescue systems, backup batteries, and safety sensors are tested in this stage.
Safety Tests and Final Inspections
Even after installation, the elevator cannot operate until it passes strict safety checks.
Brake Test
Ensures emergency brakes function properly.
Sensor Test
Checks the correct operation of door sensors, overload sensors, and cabin positioning.
Ride Test
The elevator is run multiple times through all floors to verify smoothness and accurate stopping.
Emergency Rescue Test
Confirms the backup batteries and evacuation system function in case of power failure.
Final Inspection
Conducted by a certified inspector. The elevator is approved for use only after official authorization.
Role of National Standards
Compliance with Codes
National regulations cover cabin dimensions, door width and height, COP placement, lighting, and ventilation.
Accessibility and Safety
Compliance ensures accessibility for people with disabilities, seniors, and safe evacuation during emergencies.
Conclusion
Step-by-Step Summary
Shaft preparation and dimension check
Rail and guiding system installation
Cabin assembly and installation
Door fitting and COP installation
Wiring, programming, and control system setup
Safety testing and certification
Choosing the Right Cabin Matters
While technical installation ensures safe performance, the user experience is defined by the cabin itself—the space people interact with daily. Choosing a high-quality, well-designed cabin not only improves safety but also enhances the building’s prestige and value.
About General Cabin
General Cabin offers a wide range of designs, durable materials, and strict compliance with standards to deliver elevators that provide the best possible experience—combining professional installation with premium cabin quality.